
Why thread gauge use starts with feel, not force
Thread gauges are meant to confirm whether a threaded part matches the required size and profile, but the result depends on how the gauge is handled. In a busy Johannesburg workshop, it is easy to rush the check, especially when parts are coming off a lathe, a milling machine or a production line in batches of 50 or 100. That is when people start leaning on the gauge and confusing resistance with accuracy.
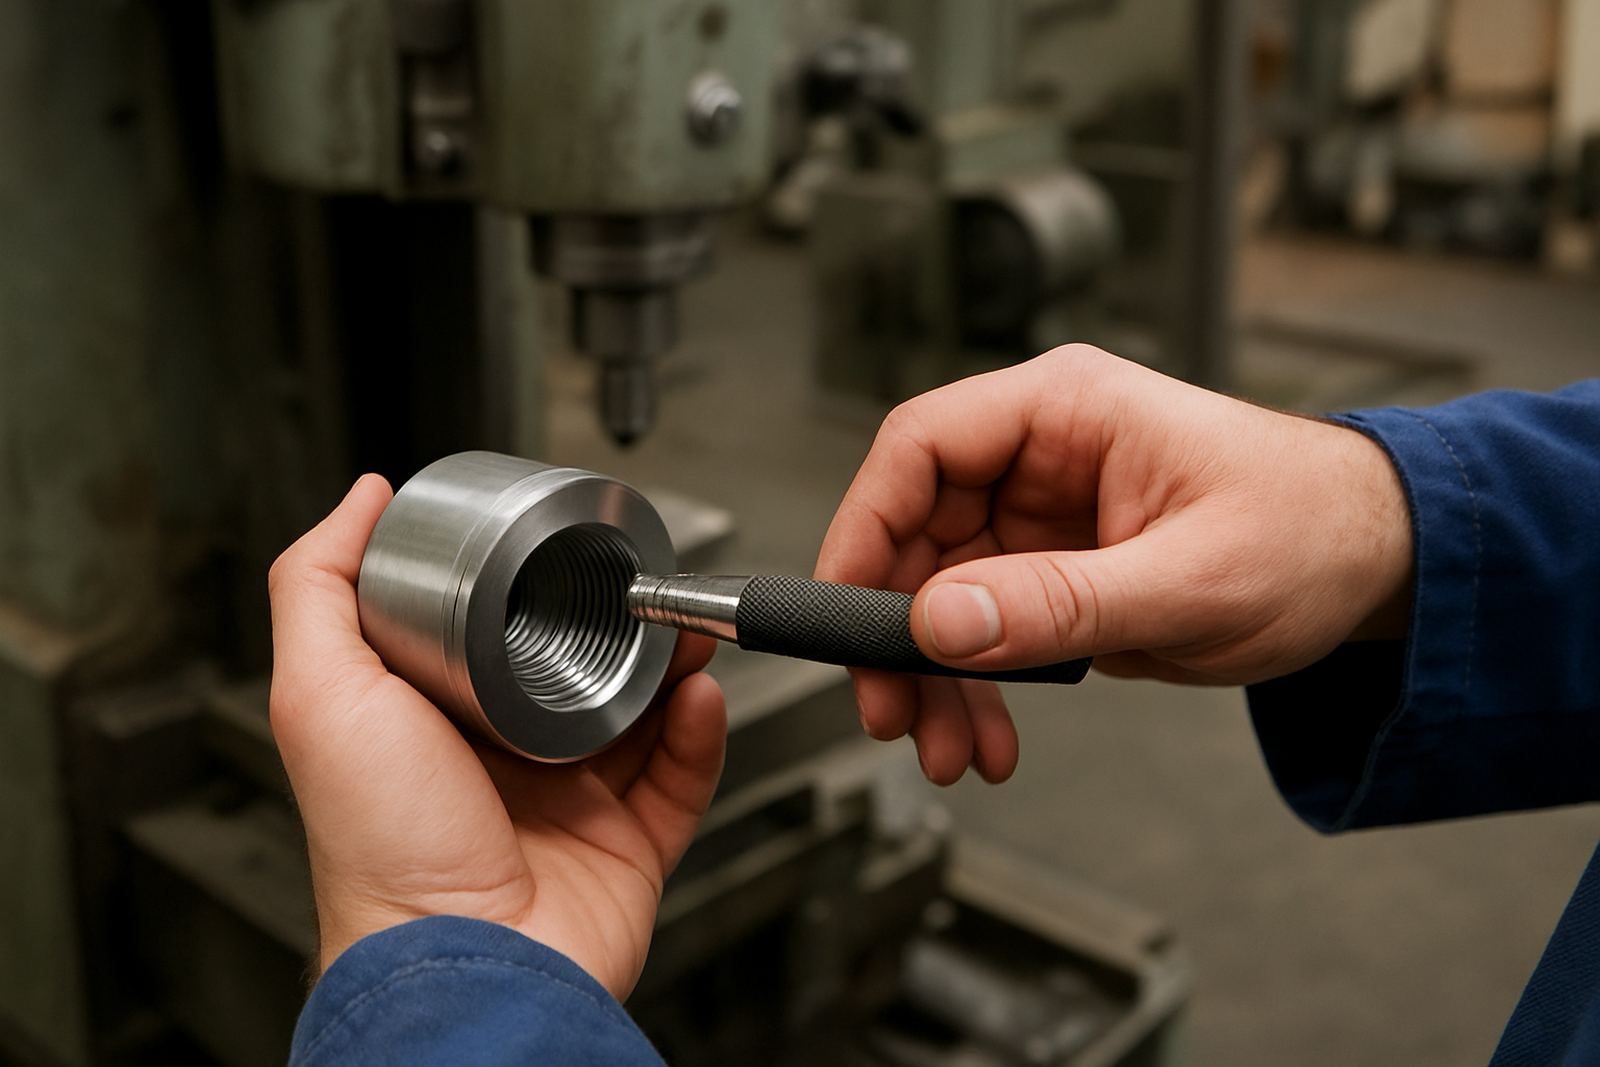
The right approach is simple. Clean the thread, check it for burrs or damage, and then let the gauge find the thread naturally. A good gauge should seat with light, even contact. If it binds immediately, stops halfway, or needs twisting pressure to move, stop and inspect the part. Forcing the issue can gall the thread, mark the gauge and give a false pass or fail.
Thread checks are not only for new parts. They are also important after repair work, re-tapping and maintenance on pumps, valves, mounting points and instrument housings. In South African plants where dust and vibration are common, sticking to one clear method for using thread gauges pays off in accuracy and time saved.
Check the thread before the gauge touches it
Many bad readings start before the gauge is even used. Swarf, oil sludge, paint overspray and corrosion all interfere with contact. On site in Kempton Park or Germiston, it is common to find threads contaminated by cutting fluid or fine metal particles after machining. A quick clean with a lint-free cloth, a soft brush or suitable solvent can make the difference between a true reading and a misleading one.
Before using the gauge, inspect the thread under good light. Look for:
- dented or flattened crests
- burrs from tapping or cutting
- cross-threading at the start of the thread
- rust, plating build-up or paint in the groove
- wear from repeated assembly and removal
If the thread looks rough, the gauge will not fix it. It will only show that there is a problem. That is useful, but only if the person taking the measurement understands the difference between a sizing check and a repair job. The goal is to read the thread, not to persuade it into compliance.
Use the correct gauge type for the job
Not every threaded component needs the same checking method. Some jobs call for ring gauges, others for plug gauges, and some require visual inspection against a known standard before a final measurement is taken. The important point is to match the gauge to the application and the tolerance needed. A maintenance team checking fittings for industrial equipment will not use the same method as a manufacturer inspecting high volume turned parts.
In practice, the following discipline helps:
- confirm the thread specification before testing
- separate go and no-go checks clearly
- keep male and female gauges stored apart
- do not mix worn gauges with active production checks
- record which part, batch and operator did the inspection
When a gauge is unclear or worn, the safest answer is not to guess. A worn tool can appear to fit when it should not, especially on finer threads where only a small amount of wear changes the result. That is why regular calibration and inspection matter, particularly where quality decisions affect downstream assembly.
How to avoid damaging threads during inspection
Thread damage often happens in the name of checking. A gauge that is tilted, pushed in crooked or spun too fast can score the thread faces and leave the part worse than before. This is especially important on soft metals, plated components and precision parts used in electronics or instrument assemblies. Once a thread is marked, the next reading may no longer reflect the original condition.
Use a straight entry, a light touch and a steady hand. If the gauge does not start cleanly, withdraw it and begin again. Do not use pliers, extension bars or improvised levers to make the fit happen. The small extra effort is not worth the damage. In coastal areas the issue is even more sensitive because humidity and corrosion can change the surface condition overnight, so a thread that passed yesterday may need cleaning before it is checked again today.
Good thread use also means knowing when to stop. If a component fails the gauge, do not keep trying it as though repeated attempts will improve the reading. Each extra pass can wear the thread and make a borderline part look acceptable, which creates problems later in assembly or under vibration.
A local workshop example from Isando
A machining workshop in Isando was producing threaded adaptors for equipment maintenance across Gauteng. The team was getting inconsistent results on their thread checks, with some parts passing on one shift and failing on the next. The issue was not the machine settings. It was the way the gauges were being used after lunch and during power interruptions.
When the line fell behind, the team rushed the inspection step to catch up, and that is where the drift slipped through. Threads were not being cleaned properly and the gauge was being pushed in at an angle. Once the shop introduced a simple rule set, the results settled down quickly:
- clean every thread before inspection
- inspect under direct light
- use the gauge with no pressure beyond finger contact
- mark and quarantine any part that binds
- recheck the first piece from every batch after a stoppage
The fix did not require complicated equipment. It required discipline. That is often the case in South African workshops where production pressure is high and the same team handles machining, checking and dispatch. A clear method saves time later because fewer bad parts go forward.
Protecting gauges so they stay trustworthy
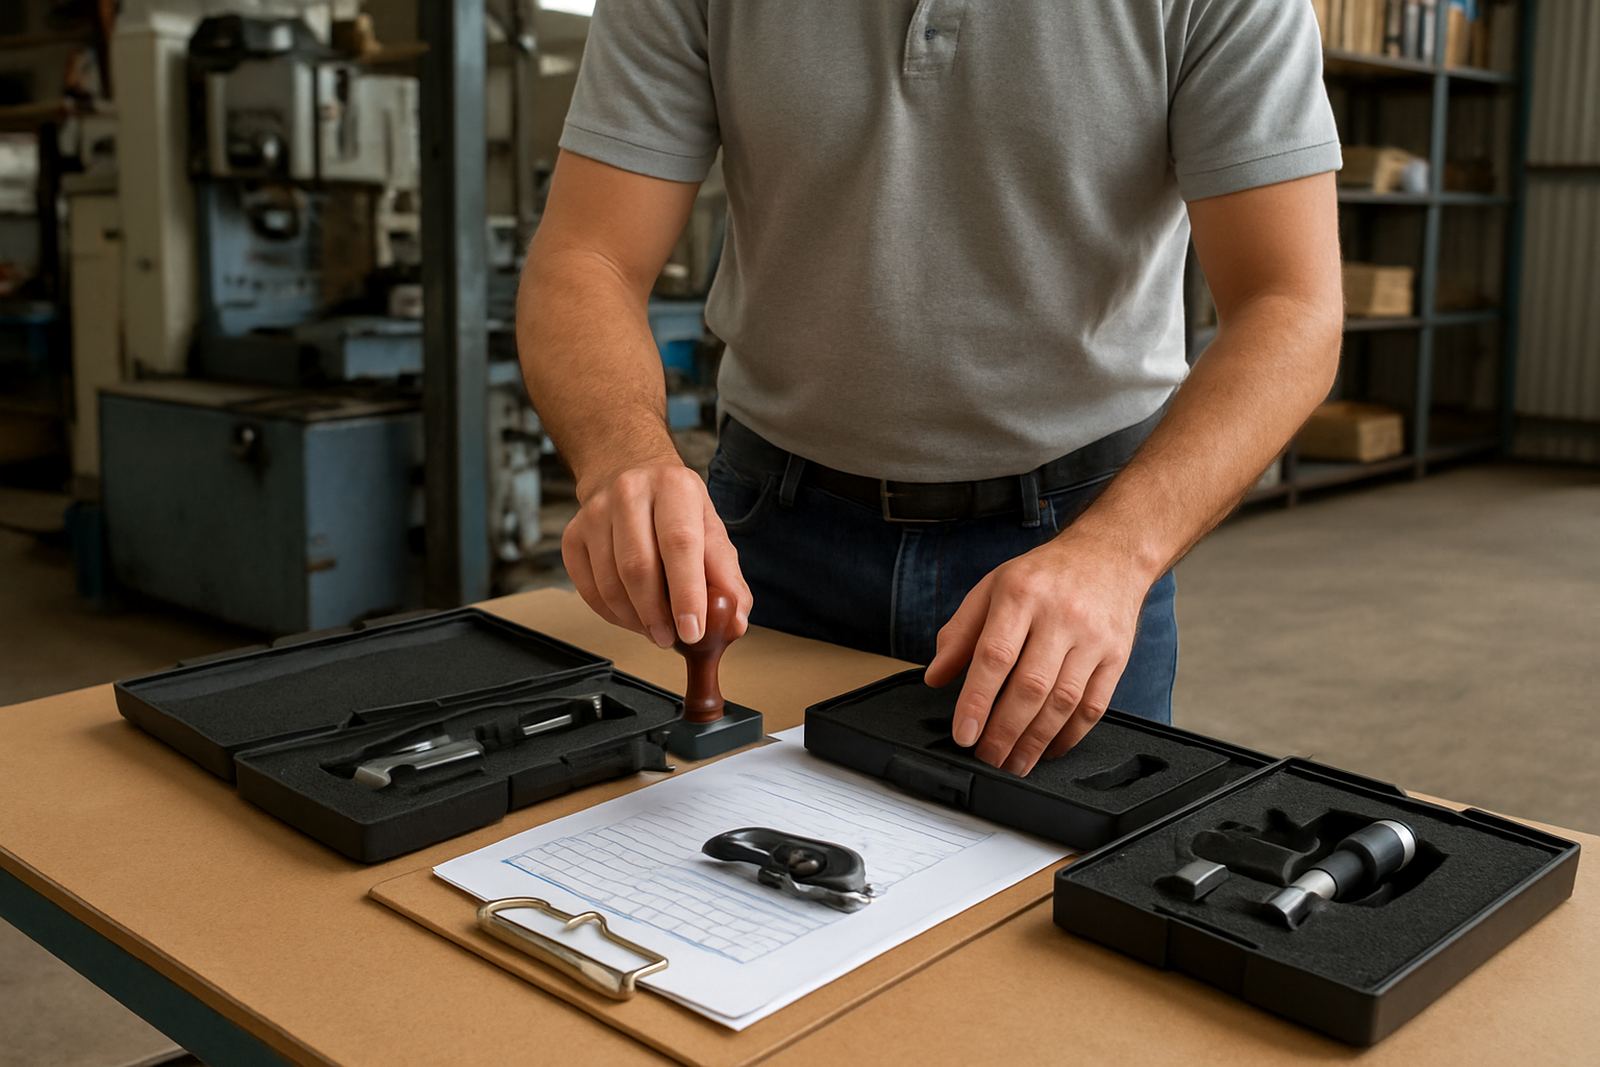
A gauge is only as good as its condition. If it is dropped, stored with metal chips, or used as a general workshop tool, its readings will drift. In an environment like Midrand or Boksburg where multiple jobs move through the same inspection area, it helps to keep gauges in labelled cases and away from cutting benches, solvents and heavy parts.
Basic care should include the following:
- wipe gauges clean after every use
- store them dry and lightly protected from corrosion
- separate instruments by size and thread class
- do not use a gauge with visible wear or damage
- send gauges for calibration at planned intervals
Calibration is not a paperwork exercise. It is what confirms that the gauge still represents the tolerance it is meant to measure. For businesses that supply parts into manufacturing, repair or automation, that confidence matters because one inaccurate thread can delay assembly, damage a mating part, or lead to a return from the customer.
When to hand the job to a calibration lab
There are times when in-house checking is enough, and times when a lab assessment is the better option. If a gauge is being used for critical production, if readings are inconsistent, or if there is doubt after a failed inspection, it is wise to have the instrument verified by a calibration team. That is especially useful when the same gauge is used across several sites in Edenvale, Jet Park, Meadowdale and Germiston, because wear can build up unevenly.
At Accu in Isando, calibration support is set up for businesses that need dependable measurement across multiple instruments, not just thread gauges. Courier collection is available nationwide, which helps when a workshop in another province needs a gauge checked without sending someone off-site. For teams managing quality under time pressure, that can keep production moving while the instrument is assessed properly.
The main rule remains the same: never force a thread gauge into place. A clean fit tells you something useful. A forced fit tells you very little, and it may cost you a thread as well.