
What runout tells you on the shop floor
Runout is the variation you see when a part rotates away from its true centre line. On a shaft, that may show up as a high spot once every turn. On a flange or pulley, it can mean the face is not square, the bore is off centre, or the part is not seated properly on the spindle.
In practical terms, runout is one of the quickest checks for whether a rotating component will behave properly in service. Too much runout can cause vibration, bearing wear, heat build up and poor product quality. In a Johannesburg workshop, that can mean a machine drifts out of tolerance by lunchtime, especially when parts run through long shifts and operating conditions keep changing.
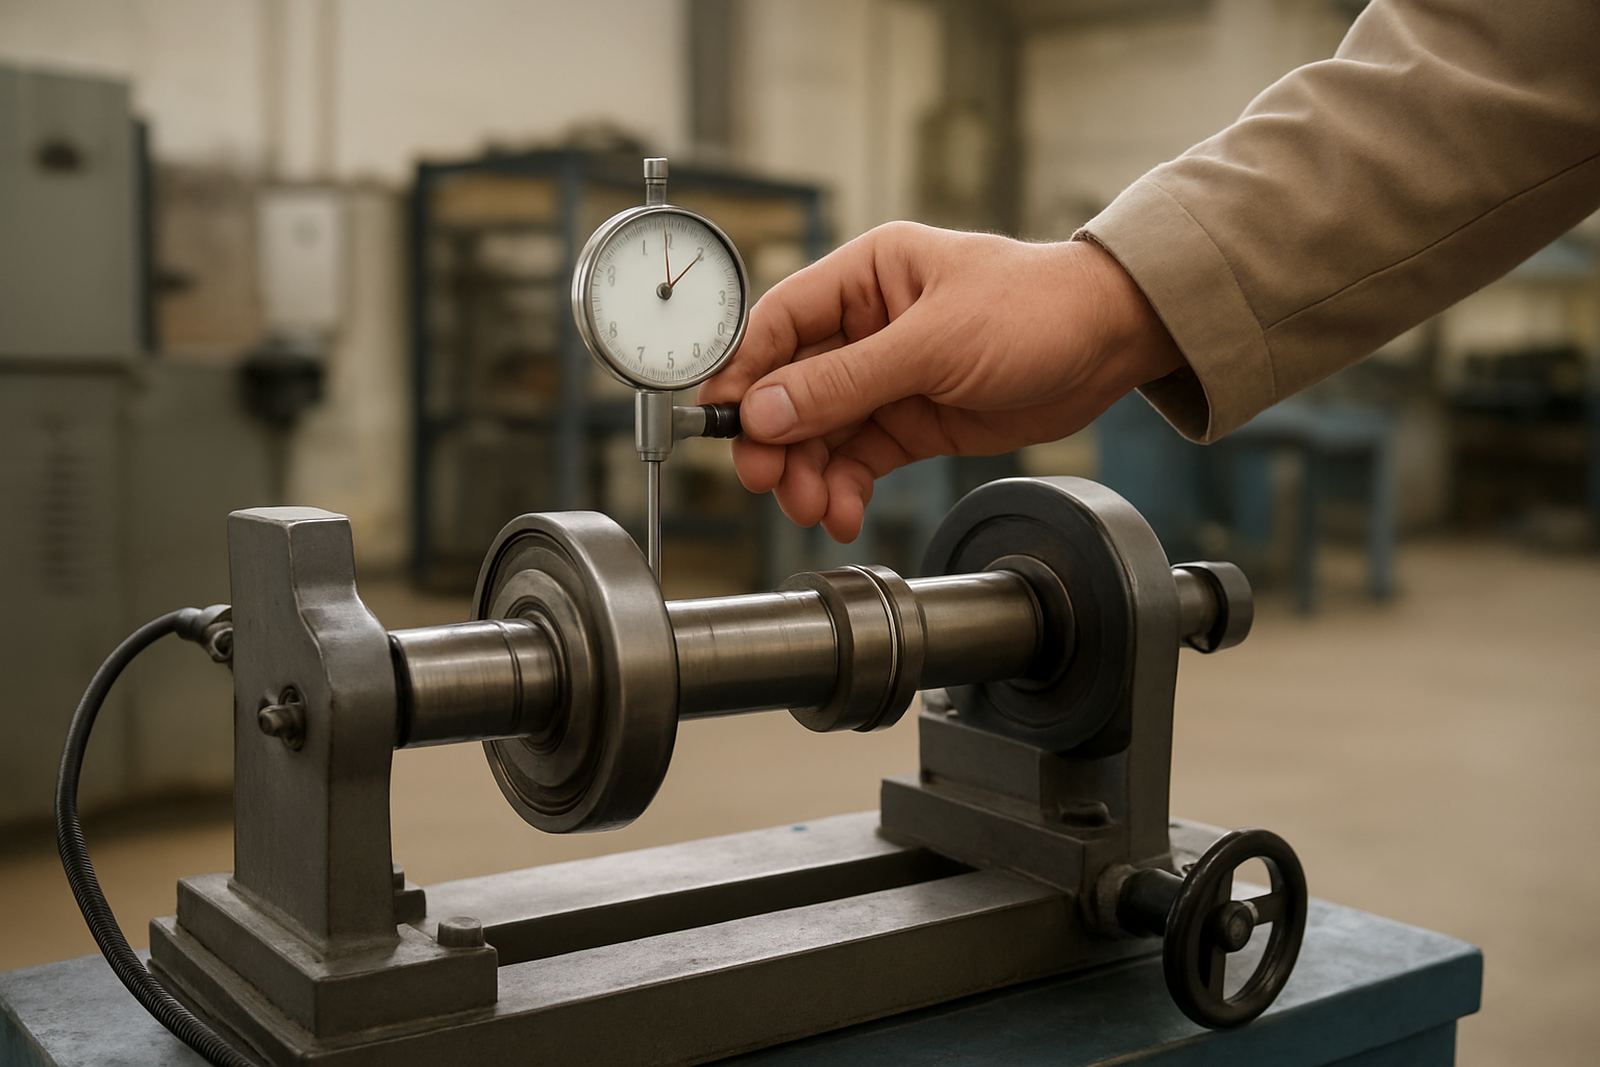
Most technicians use a dial indicator or digital indicator for this work. The key is not only the instrument, but how it is mounted, zeroed and read. A good result depends on a clean contact point, stable support and a part that is held the same way it will be used in production.
Setting up the indicator without introducing error
Before you take a reading, make sure the indicator stand is rigid and the magnetic base is sitting on a clean, flat surface. Any wobble in the stand will show up as false movement and can make a good part look bad. If you are checking a large shaft in Isando or Kempton Park, give yourself enough clearance so the contact point stays consistent for the full rotation.
Clean the measuring surface and remove burrs, swarf, oil and dust. Even a small chip under the part can change the reading. For thin parts, avoid pressing too hard with the indicator tip, because too much contact force can flex the component and distort the result.
- Place the indicator tip at the correct angle to the surface, usually close to perpendicular.
- Rotate the part slowly by hand and watch the needle or display for movement.
- Set the reading to zero at the lowest point, or note the full sweep if your method requires total indicator runout.
- Repeat the check at the same point to confirm consistency.
If the part is mounted in a chuck or between centres, use the same clamping method every time. Changes in grip pressure can affect the reading and hide the real problem.
Reading shaft runout versus face runout
Not every runout check means the same thing. Radial runout on a shaft is measured from the side, while face runout is measured on the end face of a disc, pulley or flange. The contact point and the direction of motion matter, so it helps to decide what you are actually trying to prove before you start.
For shaft checks, place the indicator tip on the outside diameter and rotate the part one full turn. Record the total movement between the highest and lowest points. For face checks, position the tip on the face near the edge, then rotate the component to see if the surface is sitting flat. If the face is true but the bore is off centre, the two readings may not match.
This is where experienced technicians slow down and compare results. A shaft may show runout because it is bent, but it may also show runout because the machine spindle has wear, the mounting is dirty, or the component was turned in the fixture. You want to identify the source, not just the number.
Common mistakes that give false readings
Runout checks are simple in principle, but small errors can lead to big mistakes. A tired operator, poor lighting or a rushed setup often causes more trouble than the component itself. In busy shops around Edenvale, Boksburg and Jet Park, the usual issue is not the indicator, it is the setup.
- Mounting the stand on a moving or oily surface.
- Touching the part before the reading is stable.
- Using a damaged contact point or worn tip.
- Reading the dial from an angle and misjudging the needle position.
- Failing to rotate the part slowly enough to see the true peak.
If the part is long, support it properly. A shaft that sags under its own weight can show more runout than it really has in service. On hollow or thin wall parts, use light pressure and check in more than one position. It is also worth repeating the measurement after rotating the part in the fixture, because that helps separate part error from fixture error.
When calibration matters more than a quick check
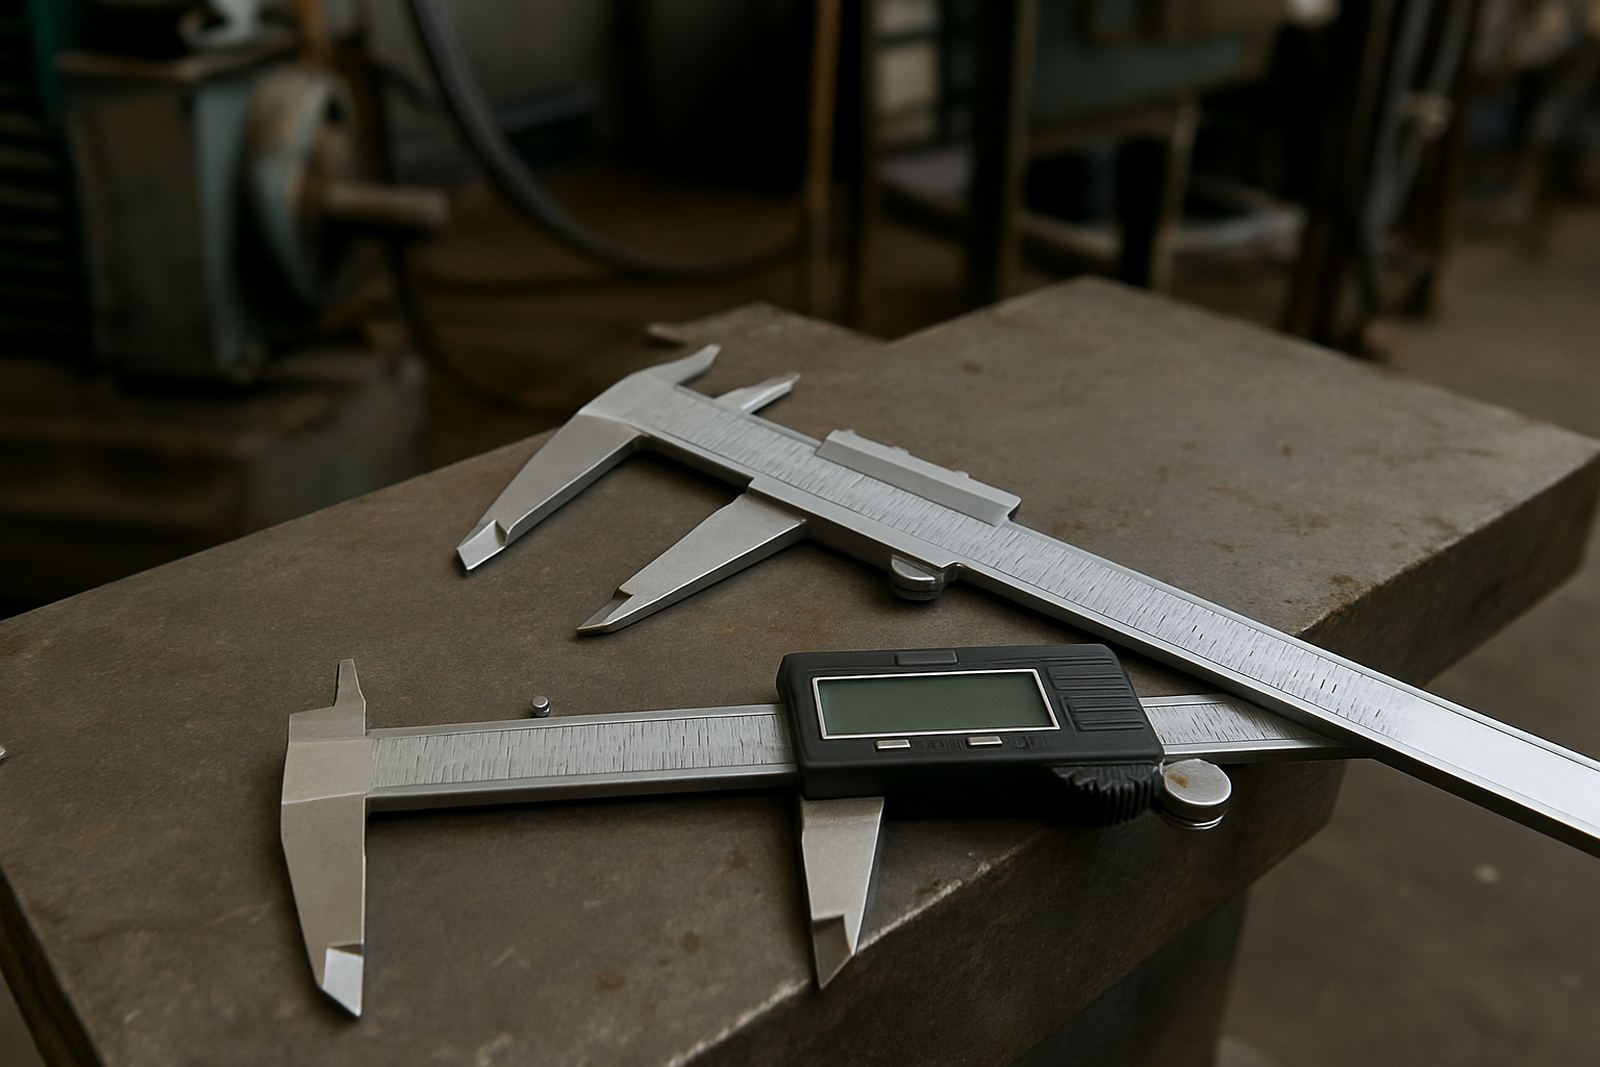
Indicators, micrometers and gauges need to be trusted before they can be useful. If the instrument is out of calibration, every runout reading becomes questionable. That is why many maintenance teams send their measuring tools for calibration on a regular schedule, especially where tolerances are tight and production runs are long.
In practice, calibration helps when readings start drifting, when tools have had a knock, or when a quality audit asks for traceable evidence. A technician in Midrand may take a reading that looks acceptable, but if the instrument is not confirmed, the result may not stand up during a dispute or customer inspection. That is a costly risk when machining parts for automotive, electronics or general engineering work.
For local businesses, a calibration lab with courier collection can save time. Tools can be sent in from Kempton Park, Germiston or further afield, checked against the right standard and returned ready for use. It also helps if the same team can advise on the best interval for repeat calibration based on usage, environment and handling.
A practical routine for repeatable results in South Africa
A reliable runout check does not need fancy kit, but it does need routine. Wipe the part, check the stand, confirm the zero and rotate slowly. If you work in a plant where dust, vibration or humidity are part of the day, build that routine into the job card so every operator follows the same steps.
For coastal sites, moisture can affect both the part and the instrument if tools are left exposed. Inland workshops may deal more with dust, heat and power interruptions. Either way, a simple pre-use inspection protects the measurement. If the reading looks odd, stop and confirm the setup before you adjust the machine or reject the part.
Runout is one of those checks that rewards discipline. Done properly, it tells you a lot about shaft condition, spindle health and assembly quality. Done badly, it gives you a false sense of certainty. The difference is usually in the setup, the reading method and the condition of the instrument in your hand.