
Why caliper errors keep showing up on the shop floor
Most caliper problems are not caused by the instrument itself. They usually come from how it is picked up, zeroed, held, or read during a busy shift. In a plant where parts are moving through fast and the pressure is on to keep production going, a few tenths of a millimetre can be the difference between a good fit and rework.
In Johannesburg and surrounding industrial areas like Isando, Kempton Park, Edenvale and Germiston, many teams use calipers across machining, maintenance and incoming inspection. That means the same tool may be handled by different people in different conditions. If the method changes from one operator to the next, the results will drift, even when the caliper is still within spec.
Zeroing mistakes that cause bad readings
One of the most common errors is starting without checking zero. A caliper that does not return to zero properly may still look fine at a glance, but every reading will carry that offset. On a morning shift, it is easy to grab the tool and carry on, especially if the same person used it the day before and left it in a drawer or on a machine top.
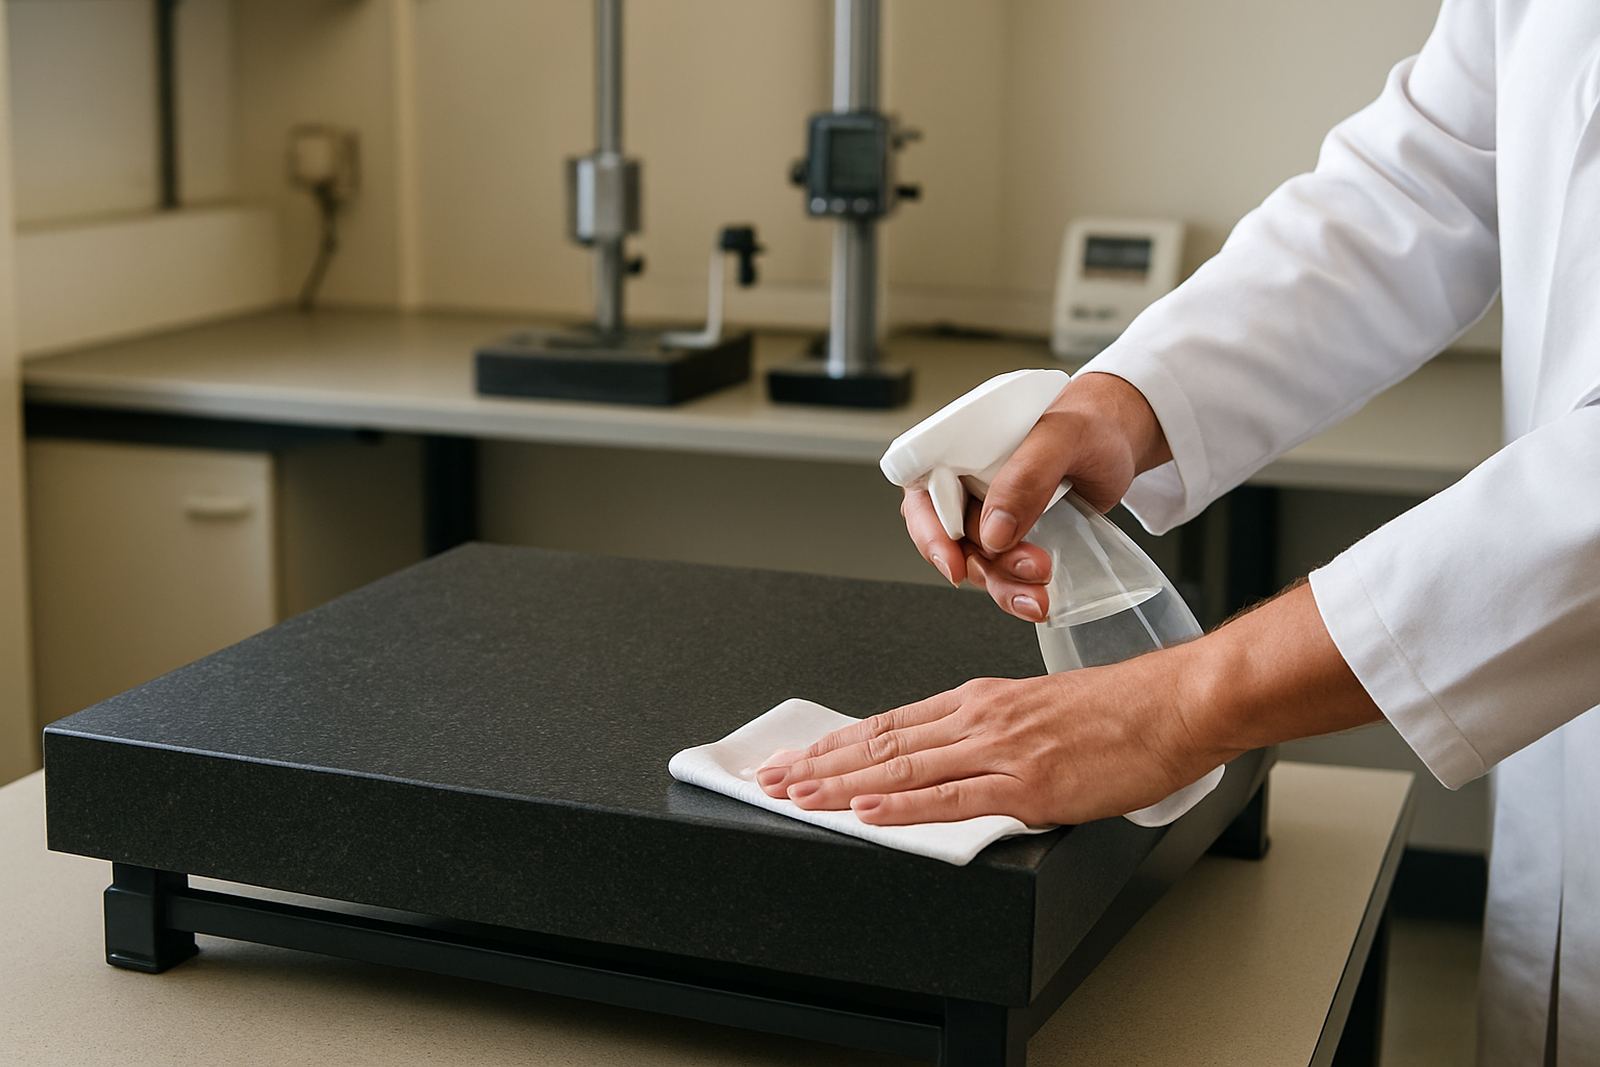
Before use, close the jaws gently, wipe the measuring faces, and confirm the display or vernier line sits at zero. If it does not, do not keep working around the error. Send it for calibration or review the condition of the jaws and slide. A quick check takes less than a minute and can save hours of sorting later.
- Check zero at the start of every shift
- Wipe off oil, coolant and dust before measuring
- Do not force the jaws closed
- Keep one caliper per application where possible
Grip, alignment and jaw pressure matter more than people think
Many measurement errors come from the operator, not the instrument. If the caliper is tilted, pressed too hard, or held at an angle on a worn shaft, the reading changes. That is especially common with outside measurements on small parts, where the jaws can slip slightly if the user is rushing. Even a steady hand can introduce variation if the part is hot or still moving on the bench.
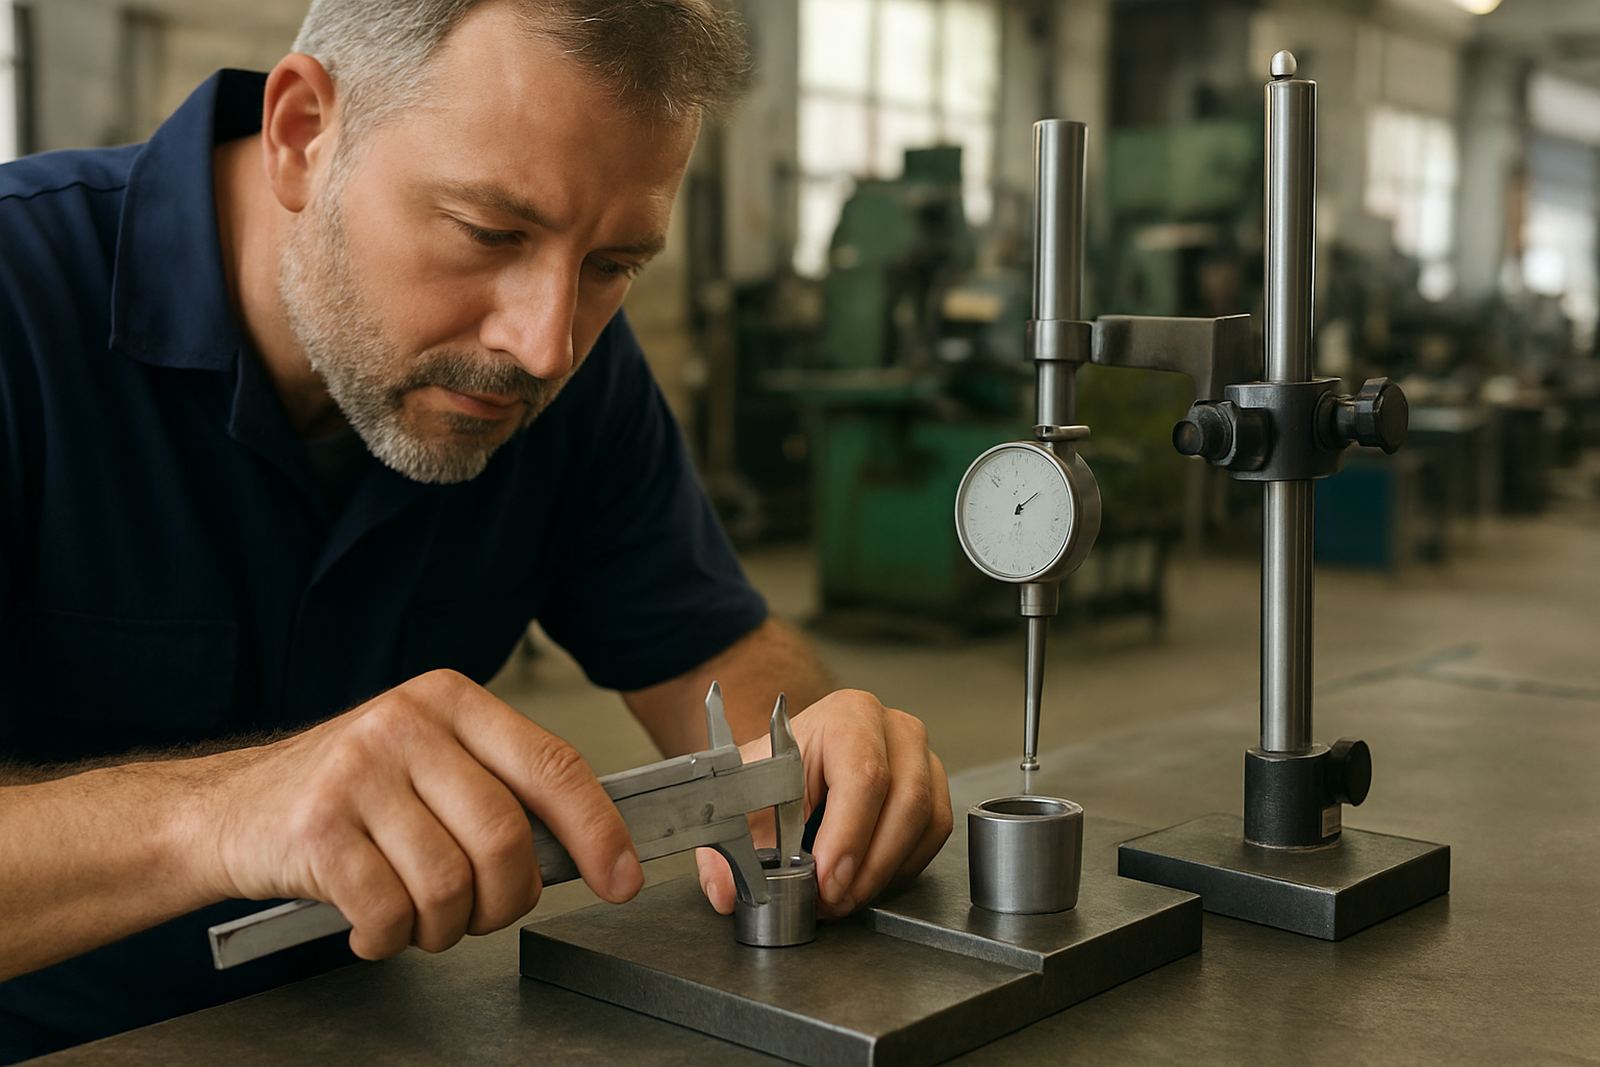
A simple rule helps: keep the caliper square to the workpiece and use light, consistent pressure. Let the tool touch the part, then stop. If you squeeze harder to get a nicer number, the result is no longer useful. On a busy line this may sound obvious, but it is one of the main reasons two operators get different figures from the same part.
- Hold the beam aligned with the part face
- Measure on a stable surface, not over moving belts
- Wait for hot parts to cool if heat expansion is affecting the reading
- Use the same technique for every inspection point
Dirty jaws, worn slides and storage habits that ruin consistency
A caliper is a precision instrument, but it often lives in a hard environment. Dust, swarf, coolant mist and humidity all affect performance. In coastal or damp conditions corrosion can start on the beam and jaws if the tool is stored open or left in a toolbox with moisture. In Gauteng, grit and metal fines are often the bigger issue.
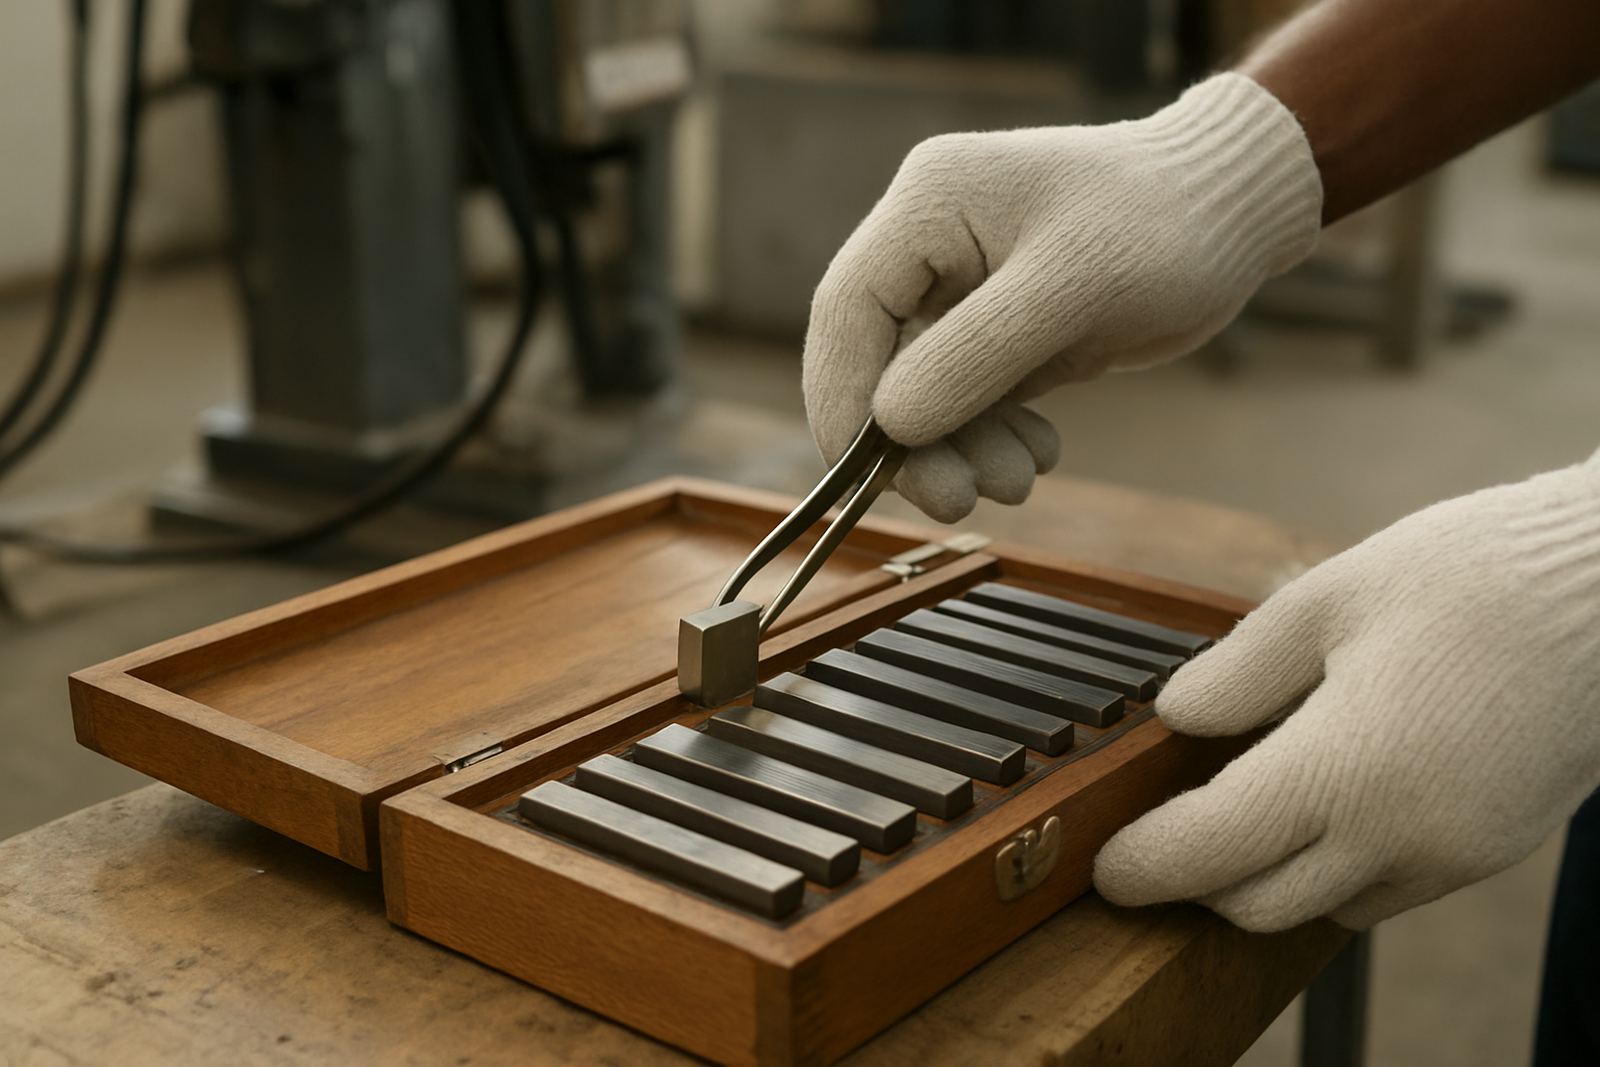
If the slide feels gritty or the jaws close with a slight bump, do not ignore it. Clean the tool carefully and inspect the faces for wear or damage. Store calipers in a case or protected drawer, away from magnets, chips and heavy tools. One drop on a concrete floor can do more harm than a year of normal use, so keep a sensible check routine in place.
At one Kempton Park workshop, a supervisor noticed that three operators were using the same caliper for bore checks and outside checks all day. The numbers kept drifting by a few hundredths. The real issue turned out to be chips trapped in the slide and a habit of leaving the tool on the machine table between jobs. A clean, labelled storage point and a quick wipe-down at changeover fixed the problem far quicker than replacing stock.
How calibration supports better measurement decisions
Calibration does not make a poor measuring method disappear, but it does tell you whether the instrument is still trustworthy. If a caliper is out of calibration, the error may only show up on certain sizes, which makes the problem hard to spot on the floor. That is why regular calibration matters for production, maintenance and quality teams that rely on repeatable readings.
For many South African businesses, a practical schedule works best. High-use calipers should be checked more often than tools used occasionally. If a unit is dropped, exposed to coolant or shows odd readings after a shift, take it out of service immediately. Calibration records also help when customers ask for traceability on parts supplied into automotive, engineering or electronics work.
- Set calibration intervals based on usage, not just calendar dates
- Quarantine dropped or damaged calipers straight away
- Keep asset IDs on each tool for easier tracking
- Match calibration frequency to the risk of the job
Practical controls that improve shop floor repeatability
If you want fewer caliper errors, start with method and discipline rather than blame. Write a short measuring standard for the team: how to clean the tool, how to zero it, how much pressure to use, where to store it, and when to send it for calibration. Keep it short enough that operators will follow it on a busy shift.
Training should be hands-on and local to the job. A fitter in Jet Park measuring worn pins needs a different routine from a quality inspector checking machined housings in Midrand. The method should reflect the actual part, the material and the environment. Once the team uses the same steps every time, variation drops and the numbers start making sense.
It also helps to assign one person to spot-check repeat results during the week. If the same part gives different readings across operators, the issue is usually technique or tool condition. Fix that first before changing process limits or rejecting stock. Small improvements add up fast when a workshop is measuring hundreds of parts a day.
When to retire a caliper and when to repair it
Not every caliper should be repaired forever. If the beam is bent, the jaws are chipped, the slide is loose or the display keeps failing, the tool may no longer be worth the downtime. That decision should be based on the cost of error, the age of the instrument and how critical the measurement is.
For higher-value work, especially where tolerances are tight, it is better to retire a tired tool early than to keep guessing. For less critical jobs, a repaired and calibrated caliper may be enough. The key is to treat it as a controlled measuring asset, not a loose hand tool. That mindset changes how the whole workshop works.
Accu supports caliper calibration and related measuring instrument checks for businesses across Johannesburg and beyond, with courier collection available nationwide. For teams that need reliable measurement and clear records, the aim is simple: fewer surprises, cleaner readings and better consistency on the floor.