
Start With The Measurement You Need To Make
The first question is simple: what are you measuring. External dimensions call for outside micrometers, internal diameters need inside measuring tools, and depths or recesses need a depth micrometer or a similar purpose-built instrument. If you are checking machined shafts in Isando, brass bushes in Germiston or turned parts in Boksburg, the job definition should decide the tool before anything else.
In a busy workshop it is tempting to keep one general instrument for everything but that usually leads to poor fit, awkward handling and slow work. A micrometer should match the part, the access and the tolerance. If the component is small, delicate or heat sensitive, choose a tool that lets the operator measure without forcing contact. If the part is long or awkwardly shaped, make sure the frame and spindle give proper reach.
- External measurements: shafts, plates, wire, sheet and machined blocks
- Internal measurements: bores, slots, cylinders and machined openings
- Depth measurements: steps, grooves, counterbores and recesses
- Special applications: thin walls, hard to reach points or repeat inspection work
Match The Range To The Size Of The Part
Every micrometer has a measuring range and that range must cover the work you do most often. A 0 to 25 mm model is common for general workshop use, while larger ranges are needed for bigger components. Do not buy a large range model if most of your work sits in one narrow band, because fine control and repeatability are usually better with the smaller unit.
For production work, it helps to keep a set of micrometers rather than one all-purpose instrument. That way the operator works close to the centre of the range where the reading is easier to trust. In a factory environment where production often stops and starts, having the right size on hand cuts down on delays and rework.
- Check the smallest and largest sizes you measure every week
- Keep the tool close to the middle of its range where possible
- Use step-up sizes for larger diameters instead of forcing one tool to do all jobs
- Confirm whether you need metric only, imperial only, or both
Choose The Right Micrometer Style For The Job
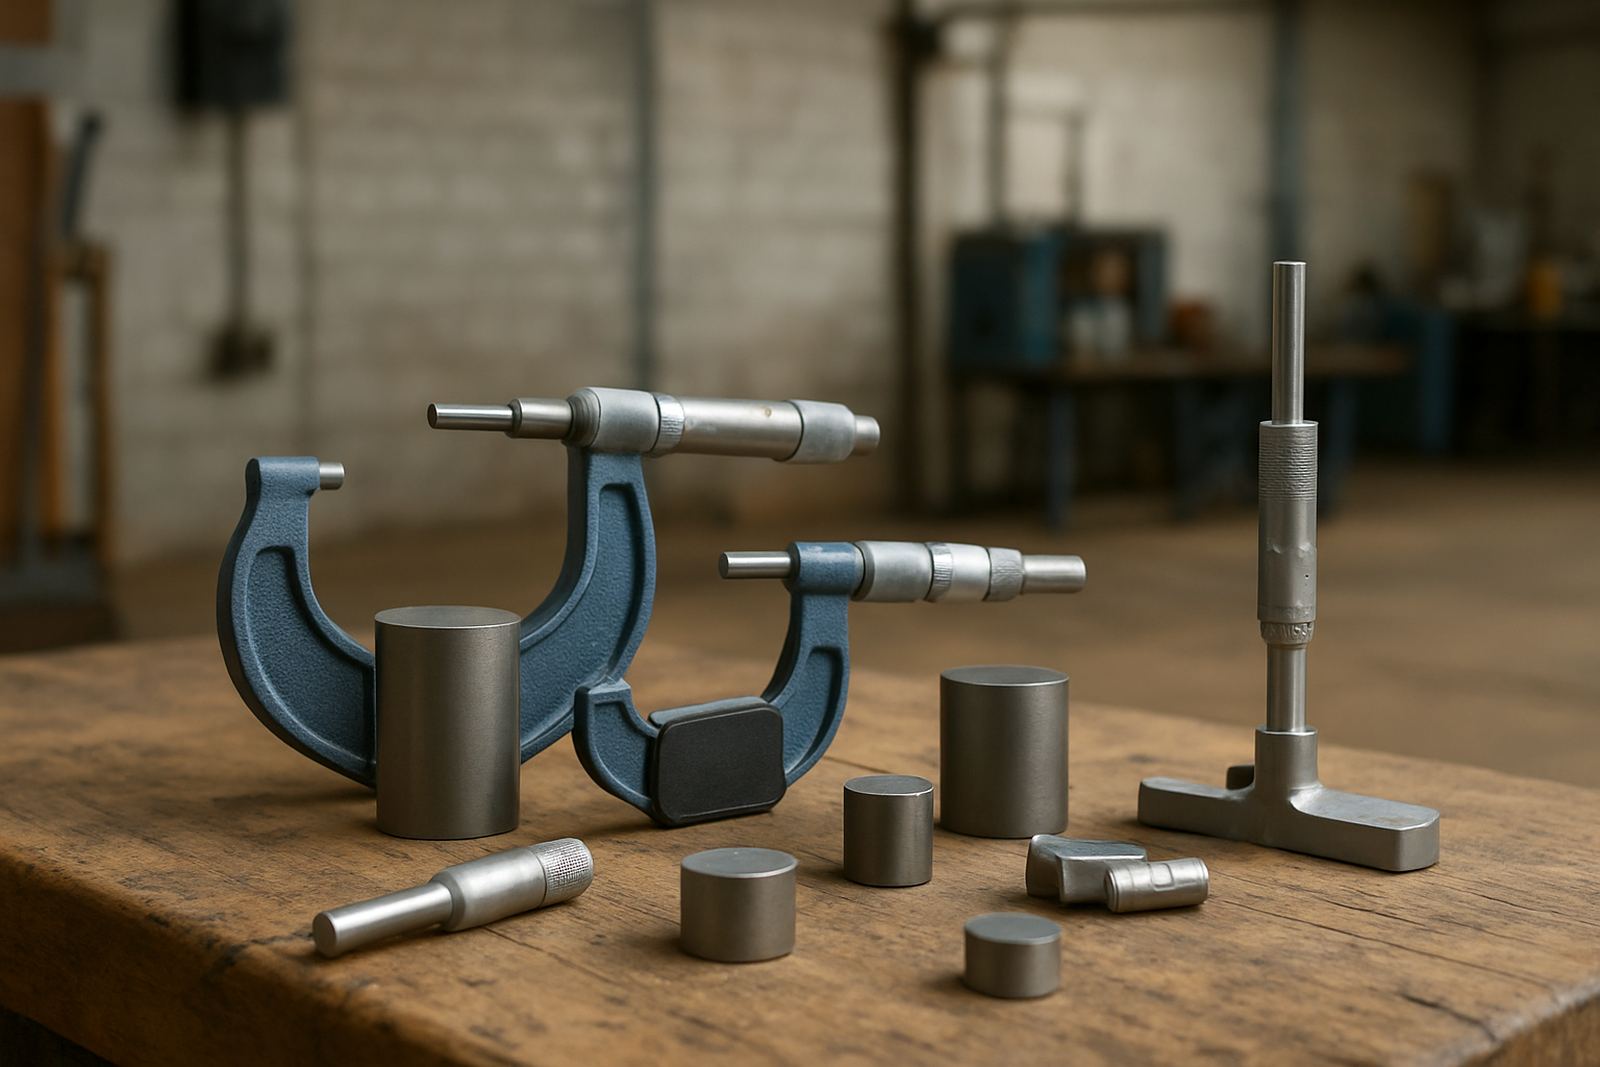
Different micrometer styles are made for different access conditions. Outside micrometers suit general dimensional checks and are the standard choice for many machinists and inspectors. Internal micrometers are better where the bore or opening must be checked from the inside. Depth micrometers are used where the measurement starts from a surface and drops into a feature.
If your team works on fabrication, maintenance or incoming inspection, the tool should also suit the way it is handled. A ratchet or friction thimble helps apply steady force, which matters when readings must be repeatable across shifts. For operators who measure all day, a clear scale or digital readout can reduce strain and mistakes. Small details matter, especially when the same part is checked more than once.
- Outside micrometers for general external dimensions
- Inside micrometers for bores and internal diameters
- Depth micrometers for steps, slots and recesses
- Special forms for thread, blade or disc-type applications
Check Resolution, Accuracy And Ease Of Reading
Resolution tells you how finely the micrometer displays the reading. Accuracy tells you how close it is to the true value. Both matter, but in practical workshop use the reading style and operator comfort matter too. A technician in Edenvale doing regular checks on small parts may prefer a digital display, while a toolroom operator may choose a vernier or mechanical scale for durability and feel.
Also think about the environment. Dust, coolant, oil mist and humidity can affect both the instrument and the person using it. In coastal or humid storage conditions, good care is important and the instrument should be kept clean, dry and packed correctly after use. If your site is affected by power cuts, a non-powered reading style can be useful for continuity. The instrument should still be checked and calibrated at regular intervals so the reading stays dependable.
- Choose the resolution that suits your tolerance band
- Make sure the display or scale is easy to read under workshop lighting
- Check whether the instrument holds zero properly after repeated use
- Ask about calibration records for quality control and audits
Use A Simple Selection Checklist Before You Buy
Before placing an order, work through a short checklist with the team that will use the instrument. The right micrometer is not only about the numbers on the spec sheet, it must also fit the way people work on the floor. If the operator wears gloves, the thimble size matters. If the parts are sharp or hot, the frame design matters. If the measurements are repeated in a production line, speed matters too.
- What material and part type will be measured
- Is the need external, internal or depth measurement
- What range and resolution are required
- Will one person or many people use the same tool
- Do you need calibration certificates for quality records
- Will the instrument travel between site and lab
A good selection avoids awkward workarounds and saves time over the full life of the instrument. It also helps when you need consistent results for customer sign-off, production records or maintenance reports. That is especially important where a small error can affect fit, assembly or final inspection.
Keep Accuracy Under Control After Purchase
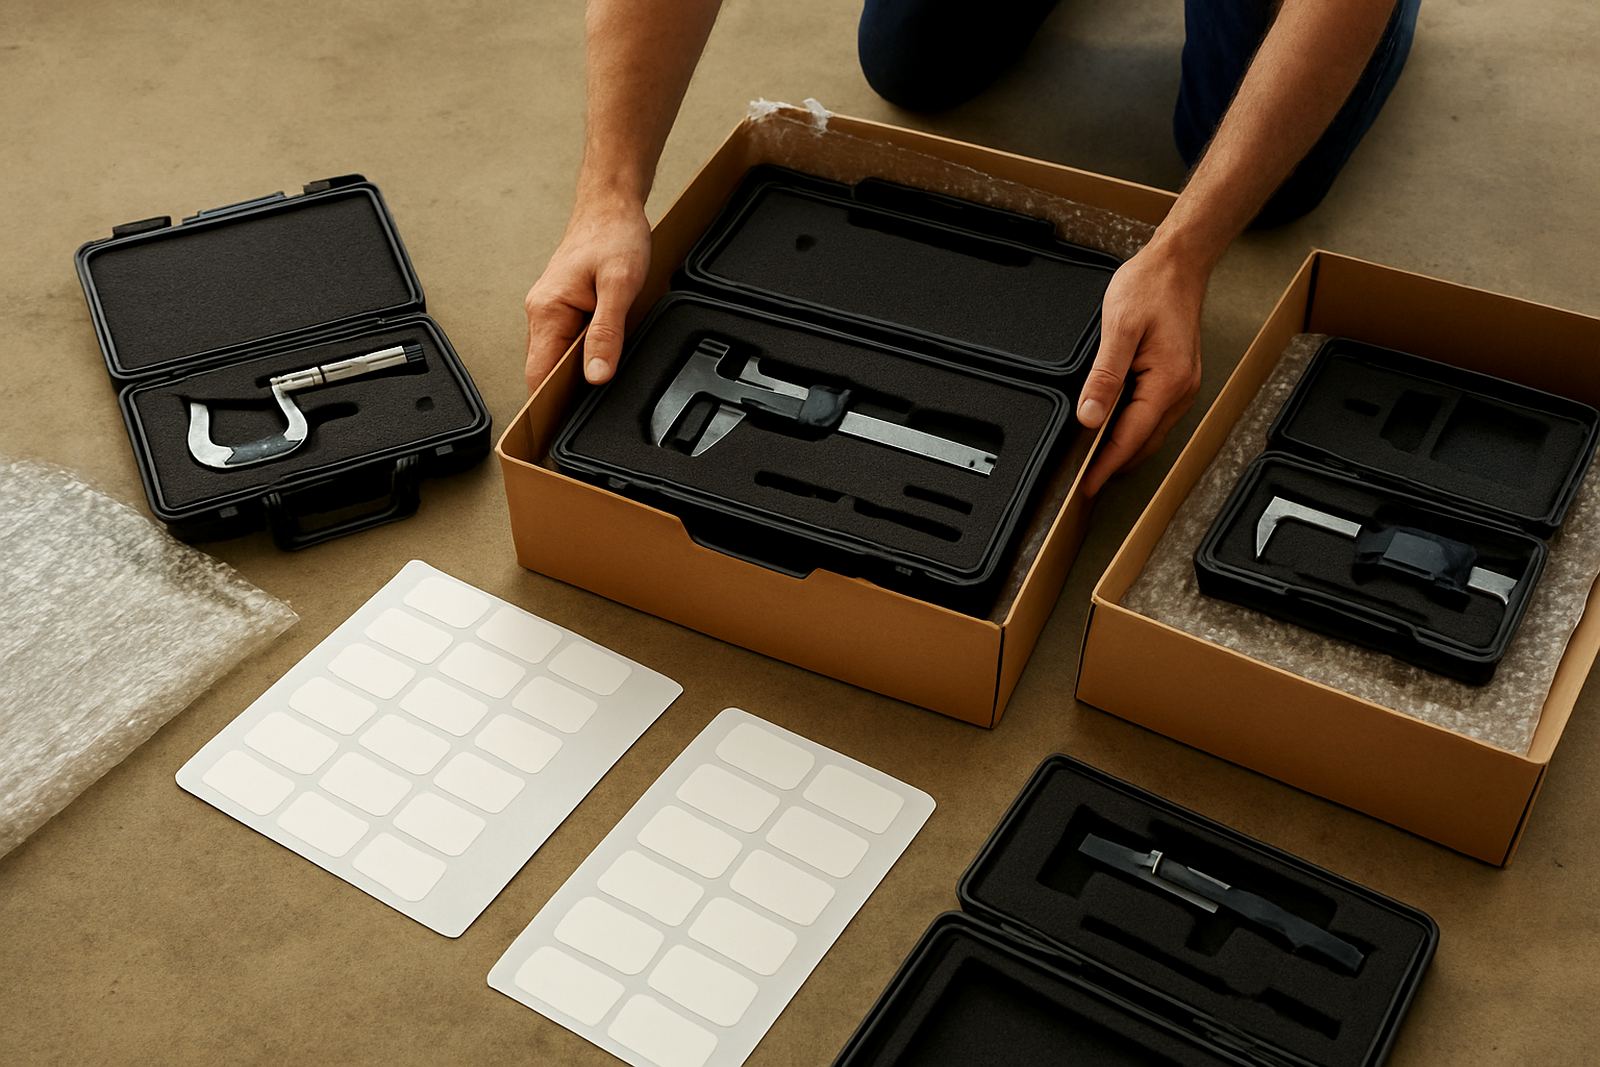
Even a well chosen micrometer needs care. Store it in its case, keep measuring faces clean and avoid using excessive force. Never leave it where swarf, moisture or vibration can damage the spindle or anvil faces. For sites in Kempton Park, Midrand and Jet Park, where fast turnaround is often important, routine checks should be part of normal workshop practice not an afterthought.
Calibration is the next step after selection. If your instruments are part of a quality system, arrange regular calibration and keep the record with the tool file. For businesses across Johannesburg and nationwide, Accu can collect instruments by courier and support calibration in our Isando lab. That gives you a clear path from choosing the right micrometer to keeping it in spec over time.
If you are unsure which style to use, start with the measurement task and the tolerance requirement. From there, the right micrometer usually becomes clear.