
Start with the job, not the tool
Before you choose an indicator, define the task. Are you checking shaft runout, setting concentricity, aligning a machine bed, or comparing surface variation on a fixture? In many Johannesburg workshops the answer changes with the machine, the tolerance and the access you have around the part.
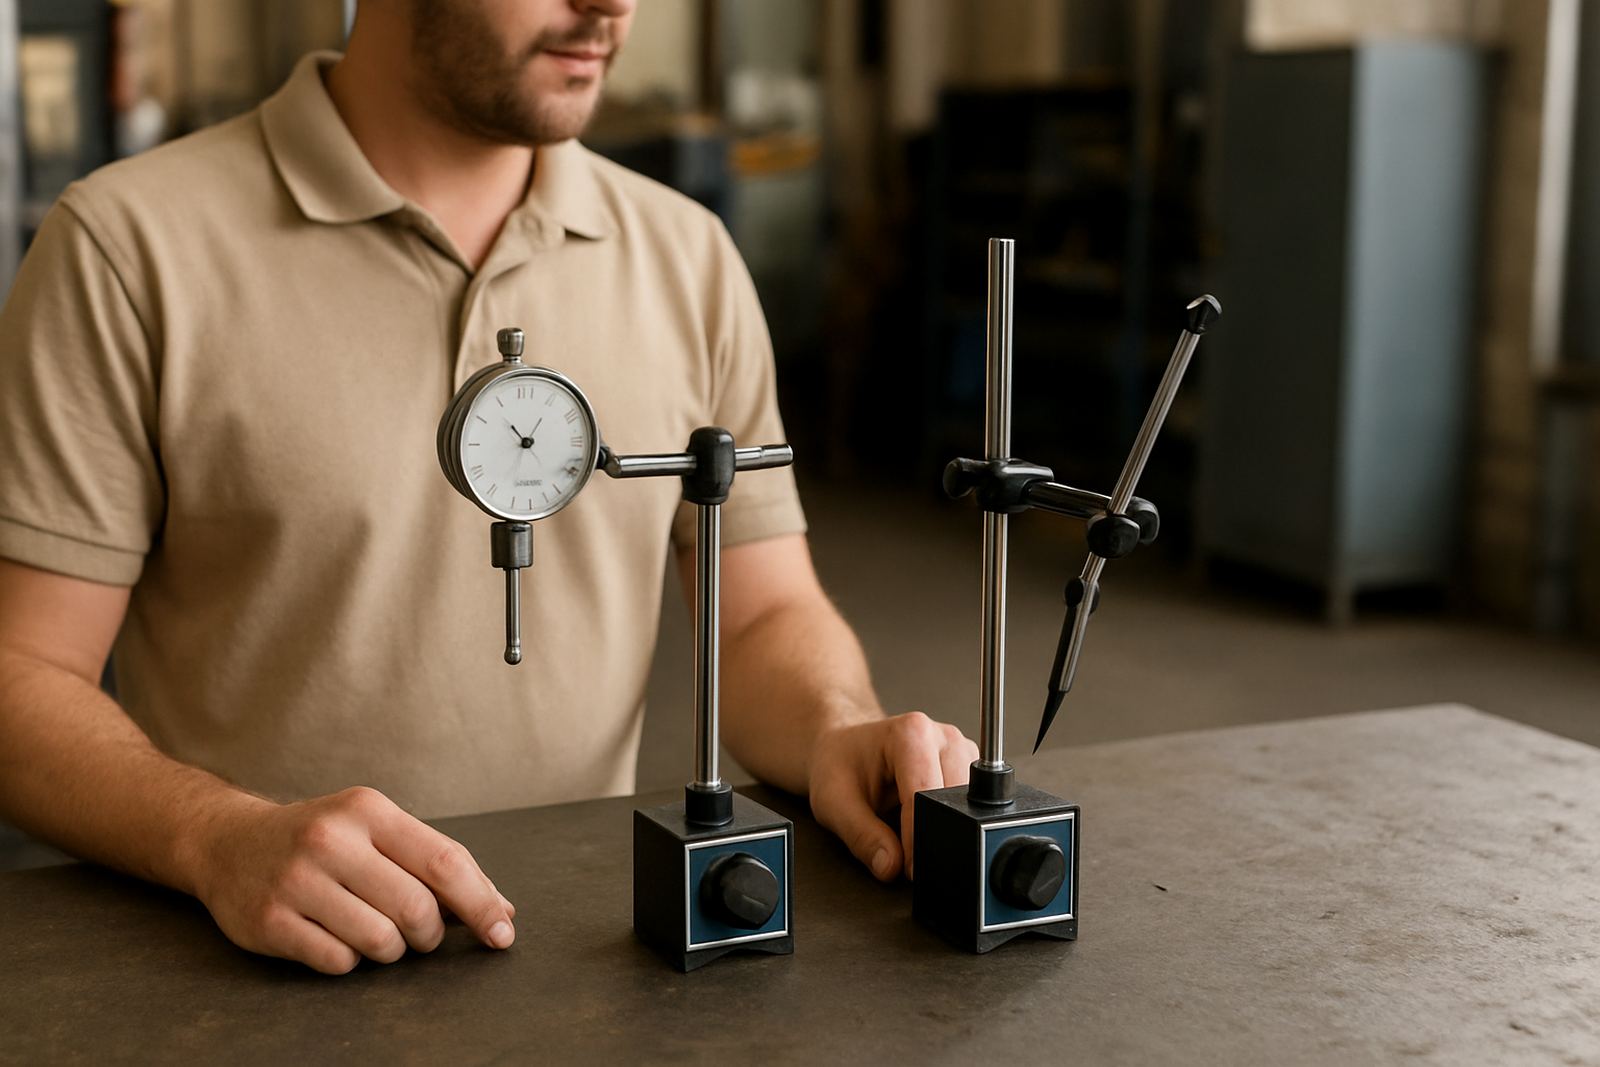
A dial indicator suits general-purpose movement checks where the tip can travel in a straight line. A test indicator is usually better for fine alignment, small movements and awkward angles where side sweep matters. If you are working in a plant in Isando, Kempton Park or Germiston, the right choice often comes down to how much clearance you have and how small the deviation is that you need to see.
As a rule, if the contact point moves vertically or in and out, start with a dial indicator. If you need to sweep across a face, check flatness or set alignment on a spindle, a test indicator often gives a clearer reading.
Dial indicators for general movement checks
Dial indicators are the familiar round-face instruments used across maintenance, tooling and production. They are useful when you want to measure displacement in a straight line over a known range. Common uses include runout checks, machine set-up, jig inspection and checking end float on rotating parts.
Choose a dial indicator when you need a stable mount, a clear plunger movement and easy visibility from the front. In many cases a 0 to 10 mm range is enough for workshop use, while finer graduations help when tolerances are tight. For dusty environments, or where coolant mist is present, make sure the body is protected and the contact point moves freely without sticking.
- Best for direct push or pull movement
- Good for runout, end float and travel checks
- Easy to mount on magnetic bases and stands
- Suited to routine maintenance and inspection work
If your team often shifts between benches and machines, a dial indicator is usually the simpler choice because it is quick to set up and easy to read.
Test indicators for fine alignment work
Test indicators are built for sensitivity. They are commonly used when a slight deviation matters, such as aligning a vice, checking parallelism, checking flatness or setting up a spindle against a bore. They are usually mounted so the tip sweeps across a surface or edge while the needle shows the smallest variation.
This type of indicator is a better match for precision alignment because it can show very small changes with a light contact force. That matters in metalworking and electronics production where a small error can affect the full setup. If you are measuring a face or an edge, and the reading needs to stay within a narrow band, a test indicator is often the smarter option.
When using a test indicator, keep the mount rigid and the sweep smooth. Any flex in the arm or stand will affect the reading, especially on older machines or where vibration is present. In workshops near the coast, corrosion can also affect fine movements, so keep the contact point and joints clean and dry.
A simple selection checklist
Use this checklist before you place the order or pull an instrument from storage. It will save you from choosing a model that looks right but does not suit the job.
- What are you measuring: straight travel, runout, flatness or alignment?
- How much movement do you expect, in millimetres?
- Do you need a top read, side read or sweep measurement?
- Is there enough space for the body, stem and contact point?
- Will the work area be dusty, oily, hot or exposed to vibration?
- Do you need a coarse range for general inspection or a fine reading for setup work?
- Will the indicator be used daily or only for occasional checks?
If two options seem close, choose the one that is easier to mount securely. A steady setup usually gives a better result than a more expensive instrument that is awkward to use.
Calibration, care and when to replace
Even a good indicator can drift out of tolerance if it is knocked, over-travelled or stored badly. For businesses that rely on measurement records, regular calibration is not optional. Accu’s calibration lab in Isando supports businesses that need reliable traceability on indicators, micrometers, calipers and related instruments, with courier collection available nationwide.
Send indicators for calibration if readings seem inconsistent, if the needle sticks, if the bezel is damaged, or if the contact point has visible wear. After calibration, keep instruments in a clean case and avoid leaving them on machinery where heat, vibration and moisture can shorten service life. This is especially important in coastal humidity or in factories where dust and oil are common.
- Check zero before and after use
- Inspect for bent stems, loose mounts and damaged tips
- Do not force the plunger beyond its travel
- Store dry, clean and away from magnetic clutter
- Schedule calibration at regular intervals based on use and risk
For production teams in Edenvale, Boksburg, Jet Park and Midrand, a simple calibration routine can prevent scrap, rework and disputes over measurement results.
Matching the indicator to your workshop conditions
South African workshops are not all the same. A machining shop in Kempton Park may need fast daily checks, while a field service team in Germiston may need compact kit that travels well. If your work shifts between site visits and bench work, keep both types available so you can choose based on the task.
Think about temperature changes too. Instruments stored in a vehicle or near a machine can warm up quickly, and that can affect accuracy until the tool has stabilised. For electronics, sheet metal, fabrication and maintenance crews, the best indicator is the one that gives a repeatable reading in the real conditions you work in, not just on a clean test bench.
If you are unsure, start with the measurement goal, then check the travel range, mounting method and calibration needs. That order makes the choice much easier and keeps your measurement system practical.