

What a test indicator does on the workshop floor
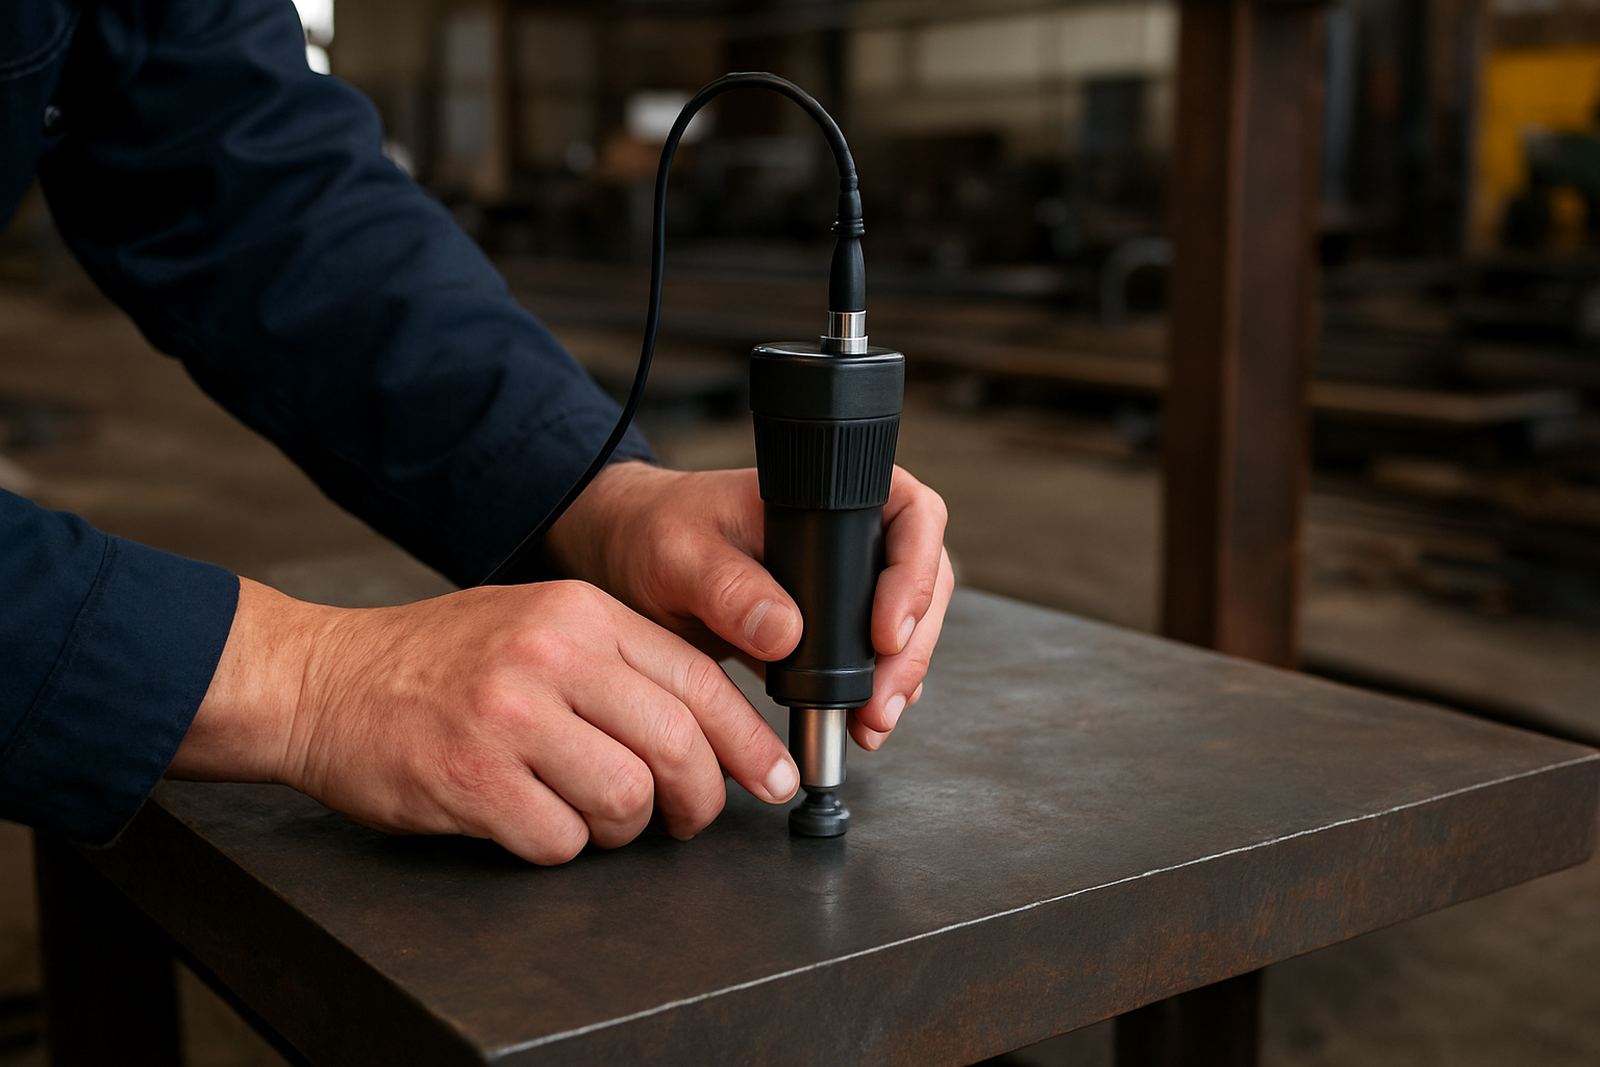
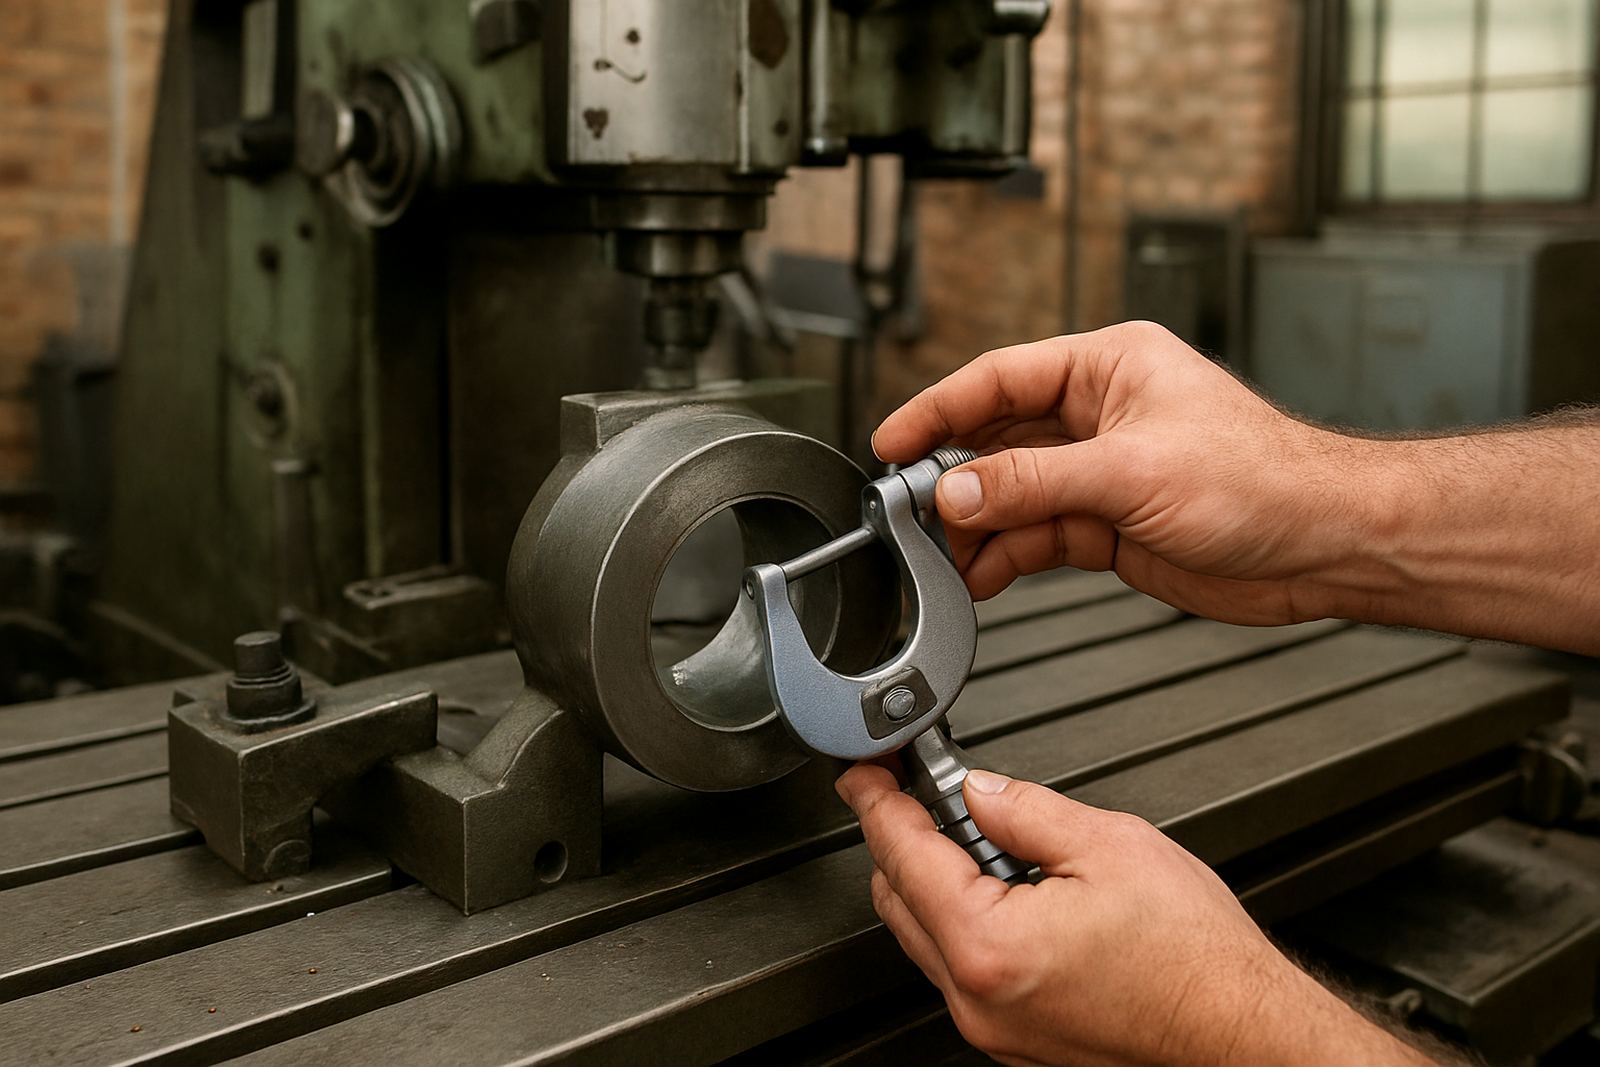
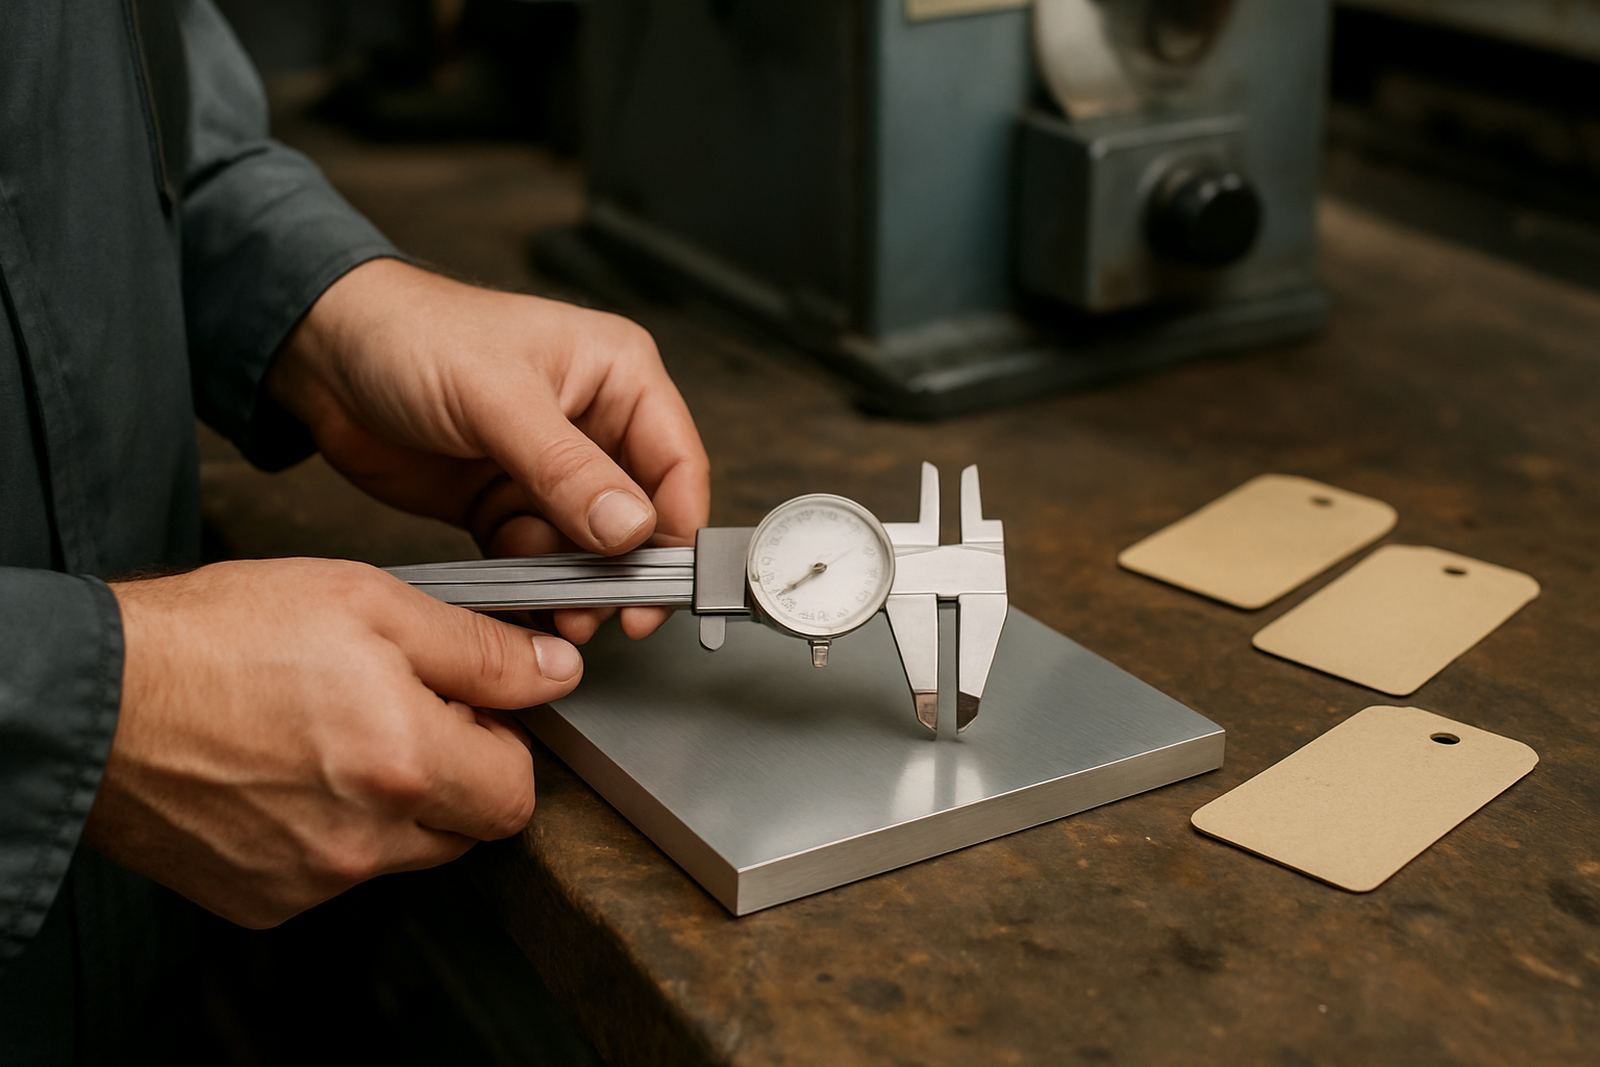
A test indicator is a sensitive comparison instrument used to detect small deviations on machine components, jigs, fixtures and assembled parts. Instead of measuring a full length from zero, it compares movement against a reference point, which makes it ideal for checking flatness, concentricity, squareness and side play. In a local machine shop or maintenance bay, that means faster setup on lathes, milling machines, surface plates and inspection fixtures.
Lever-type models suit tight access because the contact point can work at an angle and reach into narrow spaces where a plunger type indicator may struggle. The needle movement is quick and easy to read, which helps when you are tramming a vice, checking a shaft or aligning a bore. For Johannesburg sites that run long shifts, the benefit is consistency: once the operator knows the reference, the reading can be repeated with confidence, even under pressure.
Sizes, ranges and contact styles to choose from
Test indicators are available in different dial sizes, ranges and contact lengths, so the right choice depends on the job and the available space. Common models use a 0.01 mm or 0.001 mm resolution, with a relatively small measuring range that is suited to fine comparison work rather than broad movement. The bezel is usually compact for visibility, while the stem or mounting point allows positioning on magnetic bases, holders or custom jigs.
When comparing options, pay attention to the following:
- Dial diameter for easy reading in low light or from across a machine bed
- Measurement range, usually small and precise for alignment work
- Contact arm length and tip type for tight or offset access
- Graduation size, such as 0.01 mm or finer depending on the application
- Rotation direction and sweep angle, which affect how the scale is read
- Mounting style for use with a base, fixture or gauge holder
For technicians working near coastal humidity, it is worth choosing a model that can be stored and handled carefully between jobs, because corrosion or grit on the contact point can affect smooth movement over time.
Where lever indicators suit best in industry
These indicators are used in general engineering, maintenance, toolrooms, machining and inspection departments. They are especially useful for jobs that need comparative checking rather than absolute measurement, such as setting workpieces true before cutting, checking spindle runout, or confirming that a component sits square on a surface plate. In factories around Germiston, Boksburg and Jet Park, they are a practical everyday tool for repeated set-up checks.
They also suit quality control areas where repeatability matters. If a line operator or technician is checking the same part throughout a shift, the same tool can be used to verify whether a dimension is drifting, whether a fixture is moving, or whether a repaired part is back within tolerance. This makes the instrument useful in metalwork, plastics, maintenance and assembly environments, not just heavy engineering. For electronics and light manufacturing, the fine movement helps with small components, brackets and precision housings.
- Machine alignment and tramming
- Runout checks on shafts, spindles and couplings
- Fixture setting and part referencing
- Comparative inspection on repeat parts
- Workshop maintenance and fault finding
Installation, mounting and power requirements
Most test indicators do not need power or gas, which keeps them easy to use in workshops, mobile service kits and field maintenance bags. They are purely mechanical instruments, so setup is about stable mounting and careful contact position rather than wiring or compressed air. That is a real advantage at sites with limited support services, since the tool remains ready for immediate use whenever the operator needs it.
To install the indicator correctly, secure it on a stable stand or fixture, set the contact point at the correct angle and check that the plunger or lever has free movement without binding. Avoid forcing the arm beyond its working range, because that can damage the internal movement and throw the readings off. If the job involves vibration, make sure the base is firmly seated and the work surface is clean. A small amount of dirt or burrs can change the result, so wipe the reference area before taking readings. On busy sites, this extra minute saves rework later.
Care, storage and calibration intervals
Like any precision instrument, a test indicator needs sensible handling. Keep it in its case when not in use, protect the contact point from knocks and never store it loose in a toolbox with heavy spanners or cutters. Dust, cutting fluid and moisture can work into the mechanism, especially in humid areas near the coast or in production areas with coolant mist. A clean lint-free cloth is enough for routine wiping, but do not use abrasive cleaners or apply oil unless the manufacturer’s instructions allow it.
Calibration should be scheduled according to use, environment and quality requirements. A tool that stays in a controlled inspection room may hold its condition longer than one used daily on the shop floor. If a business works to an ISO system or internal inspection plan, it should record calibration dates and identify tools by serial number. Accu supports calibration for indicators and related measuring instruments at its Johannesburg base, with courier collection available nationwide for businesses that need minimal downtime.
- Check for smooth needle movement across the full sweep
- Inspect the contact tip for wear, bending or looseness
- Verify zero return and repeatability before critical work
- Store in a dry cabinet or protective case
- Keep away from swarf, grinding dust and coolant residue
What to confirm when placing an order
Before ordering a test indicator, confirm the measuring range, resolution and dial orientation needed for your application. It also helps to know whether the instrument will be used in a horizontal, vertical or angled position, because access can affect the choice of contact arm and mounting arrangement. If the job involves recurring inspection, ask for the same model across all stations so readings remain consistent between staff members.
You should also check the following details before you place the order:
- Required resolution, such as 0.01 mm or finer
- Total range of movement needed for the job
- Dial face size and reading direction
- Contact arm length and tip geometry
- Whether a mounting stem or clamp is needed
- Calibration certificate requirements for your site
If you are ordering for a plant in Isando, Edenvale, Midrand or further afield, the enquiry form on our contact page is the simplest way to confirm stock, calibration needs and collection arrangements. We can advise on related measuring instruments too, so the tool arrives ready for the work at hand and not just sitting in the cupboard.
Key facts
| Instrument type | Lever-type test indicator |
|---|---|
| Resolution | Typically 0.01 mm, with finer options available |
| Measuring range | Small comparative range suited to precision alignment work |
| Dial size | Compact face for workshop and inspection use |
| Power / gas | None required |
| Support | Calibration service and courier collection nationwide from Isando, Kempton Park |